You’ve heard all the hubbub about Bitbucket Pipelines right?
“Automate your workflow”
“Make your life easier”
“Rule the world!”
(well, maybe not this last one)
But the point is its really cool. Why? My GIT setup with WPengine has always required I do 2 “push”es every time – one to Bitbucket to keep that repo up to date, then another push to WPengine to actually update the website. I kept thinking “Why do I have to do double steps? Why???”

Well, Bitbucket Pipelines to the rescue.
Umm… what is this??
Initially, I was confused… there wasn’t any documentation on how to do what I’m trying to do. All the docs on Atlassian are for AWS, Node.js, and more. I just wanted a basic GIT setup, but couldn’t find it.
I even reached out to WPengine directly and asked if they had documentation. They didn’t. They just pointed me to their main GIT page. Nothing new there…
So I went into another project that I collaborate on, where I knew they had already setup Pipelines. I took a look at their “bitbucket-pipelines.yml” file to see how it was configured. This project doesn’t use WPengine, but it was a good start. After some tinkering, I figured it out.
Update April 2019 – WPengine now has some documentation on their website. See here.
What You’ll Need
- Bitbucket account, with your “master” and “staging” repos already setup.
- These should be setup to mirror your WPengine site exactly. See requirement 4. (pretty soon you’re gonna be pushing these files directly to your site).
- WPengine account
- Preferably some understanding of how WPengine’s GIT Push process works, but its ok if its your first time.
- Local repository with your site already copied, all your files, etc. See WPengine’s GIT setup process here: https://wpengine.com/git/. You don’t need to have finished all these steps, but you should at least make sure you can connect to WPengine from your local machine first.
- You should have a “master” and “staging” branch on your local repo. These should be setup to push to the Bitbucket equivalent “remotes”.
- Sourcetree or knowledge of how to run GIT on your local repository.
How to Set it Up
Part 1 – Setup Bitbucket Pipelines
1. Go to your Bitbucket repo, click Pipelines, then choose “PHP”
2. Delete everything in this sample. It caused more problems than it helped.
3. Paste the following:
4. Change YOUR_INSTALL_NAME to be the name of your installation.
- Confused? Go to the “GIT Push” page of your WPengine install (https://my.wpengine.com/installs/YOUR_INSTALL_NAME/git_push), and you’ll see similar lines in the bottom right corner.
- If your branches in bitbucket are not named “master” and “staging”, change those 2 lines to the names of your branches. You can add more branches if you want to make your life complicated. 😉
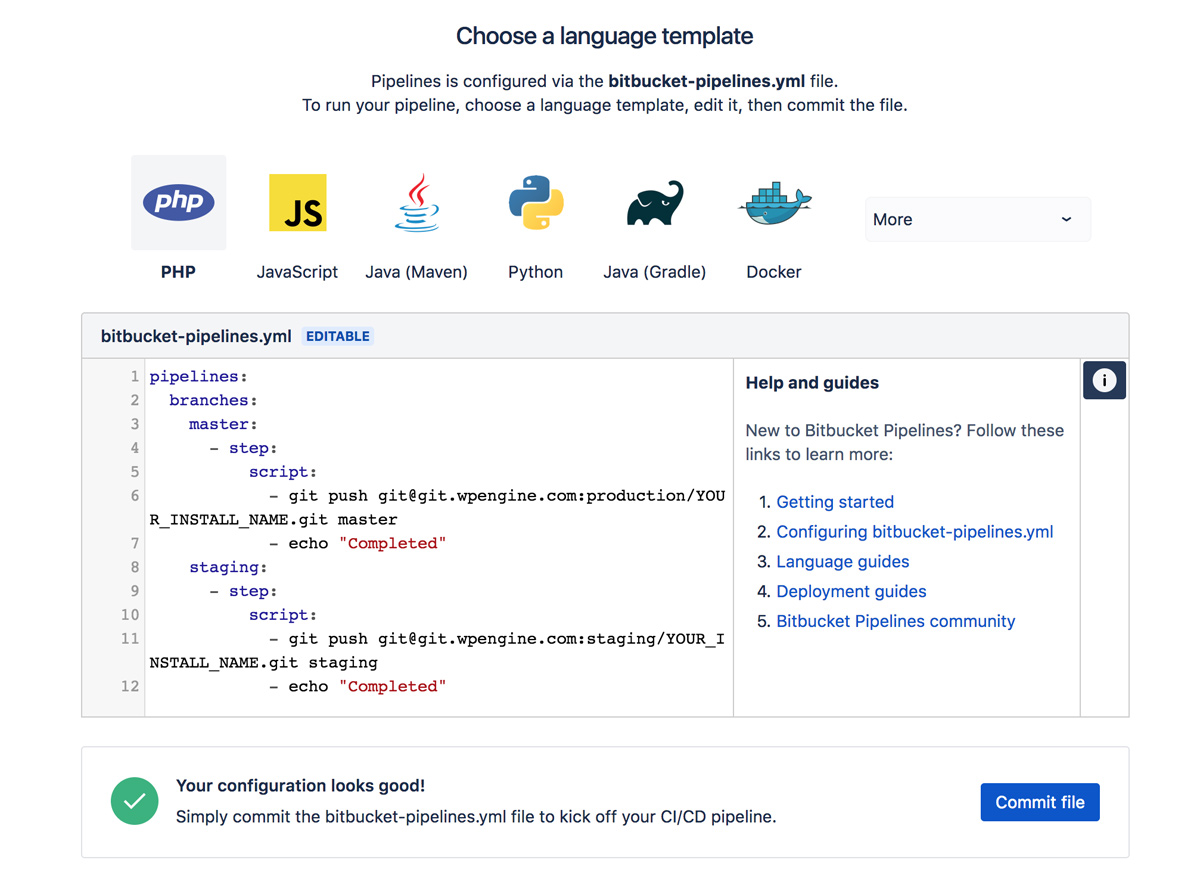
5. Click “Commit file”
6. It will try to run the Pipeline immediate – its not going to work yet.
Part 2 – Add Bitbucket private key to your WPengine install
1. In your Bitbucket repo, click “Settings”, then under the “Pipelines” header click “SSH Keys”
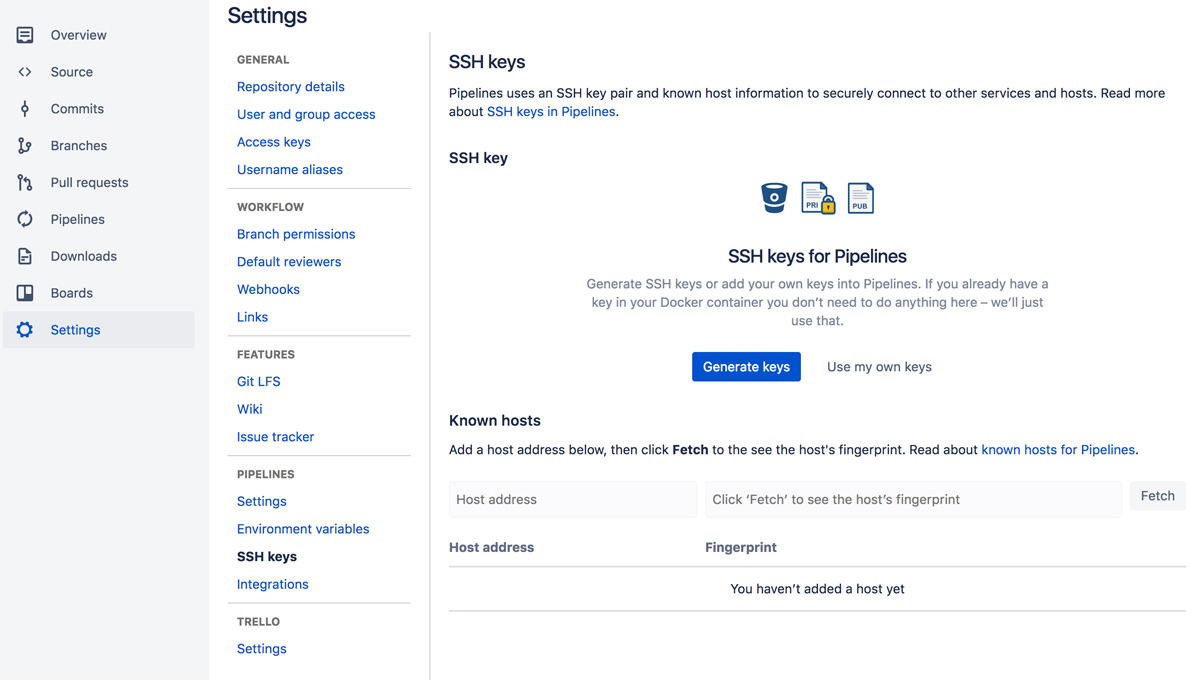
2. Click “Generate keys”. It will generate a new key. The “Public key” (the long one) is what we need to give to WPengine. Click the “Copy public key” button.
3. In a new tab, go to your WPengine install, to the GIT Push page. Enter a name for the developer (it can be whatever you want – I name mine “BBPipelines”), and paste the key into the box. Click “Add Developer”.

Part 3 – Add WPengine as a Known Host
1. Go back to your Bitbucket Repo Settings. On the same page where you generated your keys, below that is a section called “Known hosts”
2. In the “Host address” box, enter:
git.wpengine.com
3. Click “Fetch”
4. Confirm the fingerprint is the same as https://wpengine.com/git/ shows in the “Confirm Access” section.
5. Click “Add host”
TEST (on staging)!
At this point, if you did everything right, you should be able to test your pipeline! I recommend testing this on your “staging” branch, so any mistakes push to your WPengine staging server, NOT your live site.
1. In your local repo
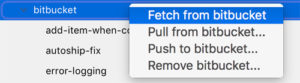
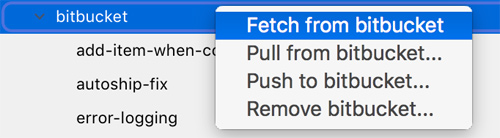
- “pull” your “bitbucket-pipelines.yml” file into your repo. If you’re in Sourcetree, switch to the branch the “bitbucket-pipelines.yml” file was committed on, then click “Repository->Refresh Remote Status”.
- If that doesn’t work, right-click the bitbucket “remote”, and click “Fetch from…”
2. If necessary, “merge” or “pull” the “Initial Bitbucket Pipelines configuration” commit into your “staging” branch.
3. Make a change (for example adding an HTML comment to the footer).
4. “Commit” this to your local repo.
5. Run a “git push” to your Bitbucket “staging” branch
- I use Sourcetree’s push tools. Since your repo should’ve already been setup, it should look something like this (you may have more branches):

6. Click “OK” to push.
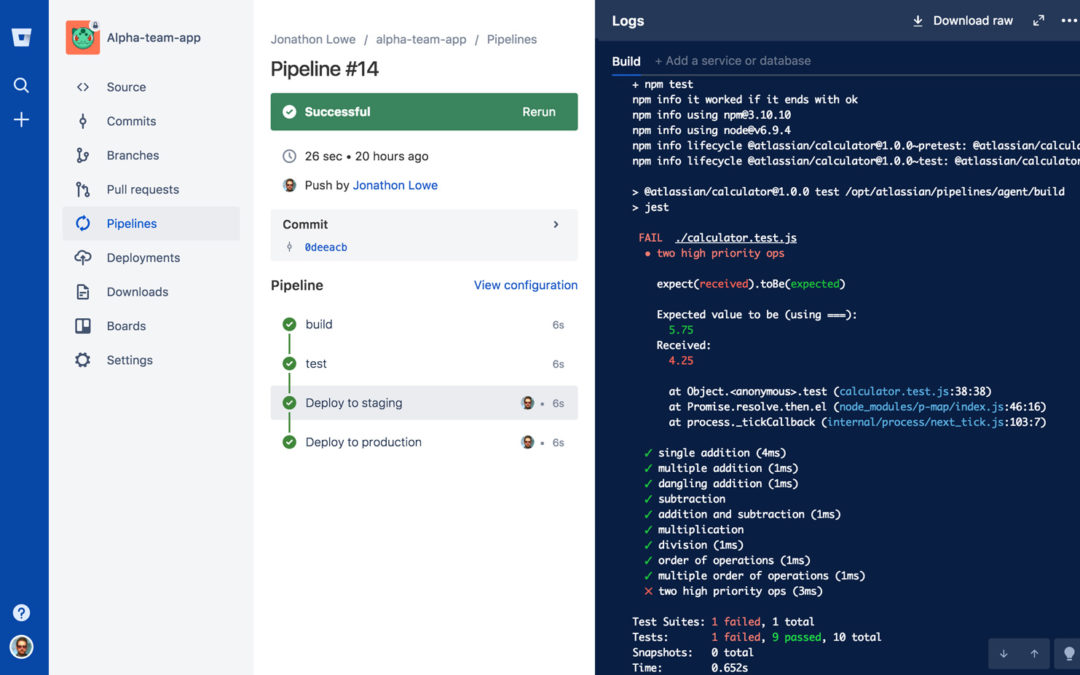
7. Visit the Pipelines page in your Bitbucket repo. You should see your commit as “In progress” ![]()
8. Click it to see a log of the Pipeline running. (If you’ve pushed to WPengine directly before, you should see a familiar output of the WPengine checks that run when you push.)
9. If successful, it will say ‘echo “COMPLETED”‘ at the bottom. Check your staging site for your change!
TEST (on production)!
Now lets test on your live production site now.
1. Switch to your local “master” branch.
2. If necessary, “pull” in the commit from Bitbucket that contains the “bitbucket-pipelines.yml” file.
3. Make another change. (Again, I recommend just an HTML comment or something invisible)
4. Commit your change.
5. Run a “git push” to your Bitbucket “master” branch.

6. Visit the Pipelines page in your Bitbucket repo again. You should see your new commit as “In progress” again. Click it to see the log of this new commit.
7. If successful, it will say ‘echo “COMPLETED”‘ at the bottom. Check your live production site for your change!
8. If you see your change, it worked!
Troubleshooting
If you receive this error in your pipeline:
! [remote rejected] your_branch_name -> your_branch_name (shallow update not allowed)
Then you may need to add this additional command as the first item in your “script”:
git fetch --unshallow origin
What did we accomplish?
Now that we’ve setup Pipelines successfully, we no longer need to push to our Bitbucket repo and WPengine site separately. The WPengine site stays directly in sync with our Bitbucket repo, making our Bitbucket repo the authoritative source for our site’s code.
IMPORTANT NOTE: If you haven’t already figured it out, you’ll want to be careful about your pushes to your “master” and “staging” repos in Bitbucket, since those immediately copy to WPengine. You will want to be more liberal in creating separate branches when working on features/fixes, before merging/rebasing them back into their respective branches. But this actually means cleaner code, and a better history of your project so you can keep track of whats where.
Happy Pipelin-ing!
This is what I’ve been looking for. Thanks!!!
Glad it helped!
Thank you for this article!!!
I am so annoyed with WP Engine’s documentation. I don’t want to deploy from my local machine. That is so impractical. If my machine breaks, then I have to setup SSH keys and everything all over.
But, i didn’t understand how Bitbucket Pipelines work, but at least now it is setup for deployments through Bitbucket. So Thank you again!!
I completely agree. Hopefully WPengine eventually updates their docs, but in the meantime glad this helped. 🙂
WPengine has this info since June 29th, 2018 (https://wpengine.co.uk/support/deploying-code-with-bitbucket-pipelines-wp-engine/).
Anyway thank you for sharing this.
Ah ya… I actually wrote this about 6 months before WPengine added that article. But I’ll add a link to it now that they’ve got something official on their site. Thanks!
also note that the staging/ in the example bitbucket-pipelines.yml file would refer to legacy staging now 🙂
Thanks for the article… it was clearer than another similar one I read. I’m having a problem where the pipeline fails with this reason:
! [rejected] staging -> staging (fetch first)
error: failed to push some refs to ‘[email protected]:production/xxxx’
hint: Updates were rejected because the remote contains work that you do
hint: not have locally. This is usually caused by another repository pushing
hint: to the same ref. You may want to first integrate the remote changes
hint: (e.g., ‘git pull …’) before pushing again.
hint: See the ‘Note about fast-forwards’ in ‘git push –help’ for details.
I’m not understanding why I would need to fetch first since all we ever seem to be doing with WPengine is pushing to it. We push/pull to our Bitbucket repo but just push to WPengine right? Any ideas?
Hi Paul, glad it helped a bit. Do you have changes on your staging site that aren’t in your repo? Can you try recreating a fresh copy of the staging site, then try a new “push” to staging?
Love this. Thanks. Is there a way to add file path to the yml?
Glad to hear! Could you add more details what you’re trying to do?
Worked like a charm. Thank you for filling the gap where it was not clear with WP Engine documentation.